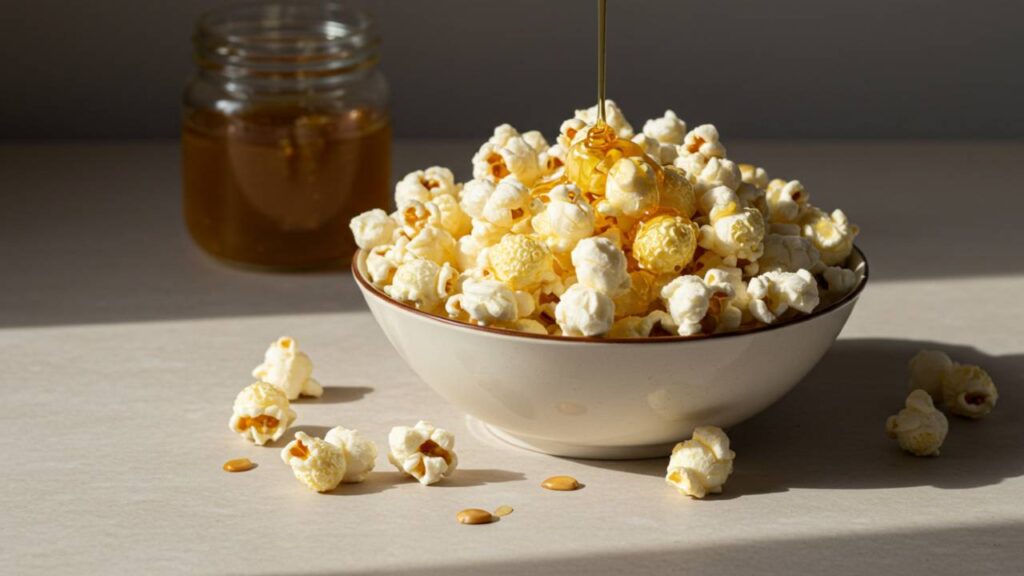
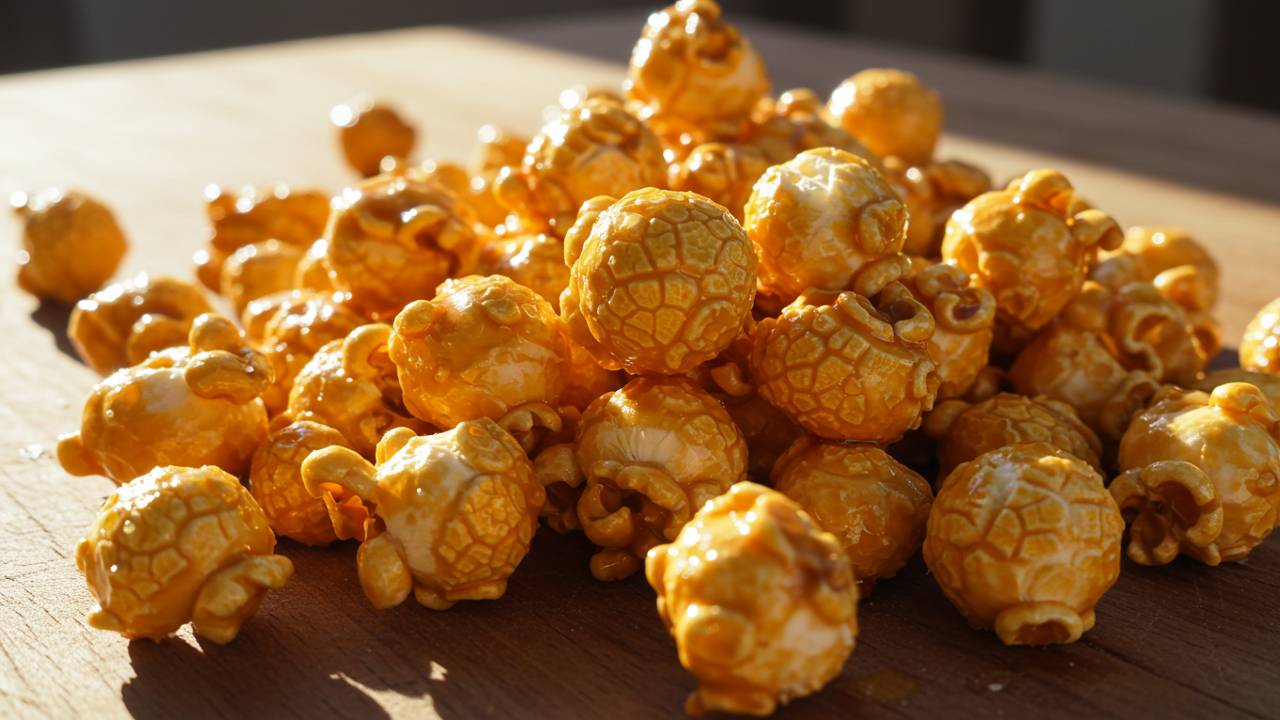
Honey popcorn is more than just a snack; it’s a treat that brings together the delightful crunch of popcorn and the rich, natural sweetness of honey. Perfect for movie nights, party favors, or just a satisfying afternoon indulgence, this recipe combines simple ingredients for maximum flavor. Here’s a closer look at the history of honey popcorn, key ingredients, how to prepare it, and a few creative variations to keep things exciting.
Key Facts About Honey Popcorn
- Flavor: Combines sweet honey and buttery caramel-like notes with a hint of salt.
- Origins: An innovative twist on classic caramel popcorn.
- Versatility: Easily customizable with add-ins like nuts, spices, or chocolate.
- Occasions: Great for celebrations, gifts, or an everyday snack.

Key Ingredients in Honey Popcorn
Making honey popcorn requires just a handful of pantry staples, yet each contributes to the perfect balance of flavors.
- Popcorn Kernels
- Freshly popped kernels provide the base, offering the ideal light and crunchy texture.
- Honey
- Acts as the primary sweetener, lending natural floral notes and caramelized depth.
- Butter
- Adds richness and ensures the honey sauce coats each kernel evenly.
- Salt
- Balances the sweetness and enhances the overall flavor profile.
- Optional Add-Ins
- Ingredients like cinnamon, vanilla, or even a sprinkle of nuts can elevate the recipe.
How to Make Honey Popcorn
Preparing honey popcorn is straightforward and requires minimal equipment. Here’s a step-by-step guide to ensure success.
Ingredients for a Classic Recipe:
- ½ cup popcorn kernels
- ¼ cup butter (unsalted is best)
- ⅓ cup honey
- ½ teaspoon salt
- Optional toppings (nuts, cinnamon, or chocolate drizzle)
Steps to Prepare:
Step 1: Pop the Kernels
- Using either an air popper or stovetop method, pop the kernels and place them into a large mixing bowl. Ensure you remove any unpopped kernels to avoid a surprise crunch.
Step 2: Melt the Butter and Honey
- In a small saucepan over medium heat, combine the butter and honey. Stir continuously until the mixture is fully melted and smooth. (Optional: Add a pinch of cinnamon or vanilla for extra warmth.)
Step 3: Combine and Coat
- Drizzle the honey mixture evenly over the popcorn. Use a spatula or your hands (lightly greased) to gently coat the popcorn, ensuring every kernel is covered.
Step 4: Bake (Optional for Crunchier Results)
- For a crisper texture, spread the coated popcorn onto a parchment-lined baking sheet and bake at 300°F (150°C) for 10–15 minutes. Stir occasionally to avoid clumping.
Step 5: Cool and Serve
- Allow the popcorn to cool completely to set the coating. Break apart any clumps and enjoy!
Popular Variations of Honey Popcorn
Honey popcorn is a canvas for endless creativity. Here are a few fun variations to try.
- Nutty Honey Popcorn
- Toss toasted almonds, pecans, or peanuts into the mix for added crunch and a nutty flavor.
- Spiced Honey Popcorn
- Add a pinch of paprika, cayenne, or chili powder for a sweet-and-spicy kick.
- Honey Chocolate Drizzle Popcorn
- Drizzle melted dark or white chocolate across the cooled popcorn for an indulgent treat.
- Honey-Coconut Popcorn
- Sprinkle shredded coconut over the popcorn before baking for tropical flair.
- Healthy Honey Popcorn
- Use coconut oil instead of butter and reduce the honey for a lighter version.
Tips for Perfect Honey Popcorn
For consistently delicious results, here are some tips to keep in mind.
- Use Freshly Popped Popcorn
- The fresher the popcorn, the better it will adhere to the honey coating.
- Don’t Overheat the Honey Mixture
- Keep the heat at medium to prevent scorching or burning the honey.
- Spread Popcorn Evenly
- When baking, spreading popcorn in a single layer prevents clumping and ensures even crispiness.
- Experiment with Salt Levels
- Adjust the amount of salt to balance the sweetness to your liking.
- Make It Ahead of Time
- Honey popcorn stores well in an airtight container for several days, making it a great option for make-ahead snacks or gifts.


Leave a Reply